
How to Repoint a Stone Wall with Lime Mortar: A Step-by-Step Guide for UK Homes
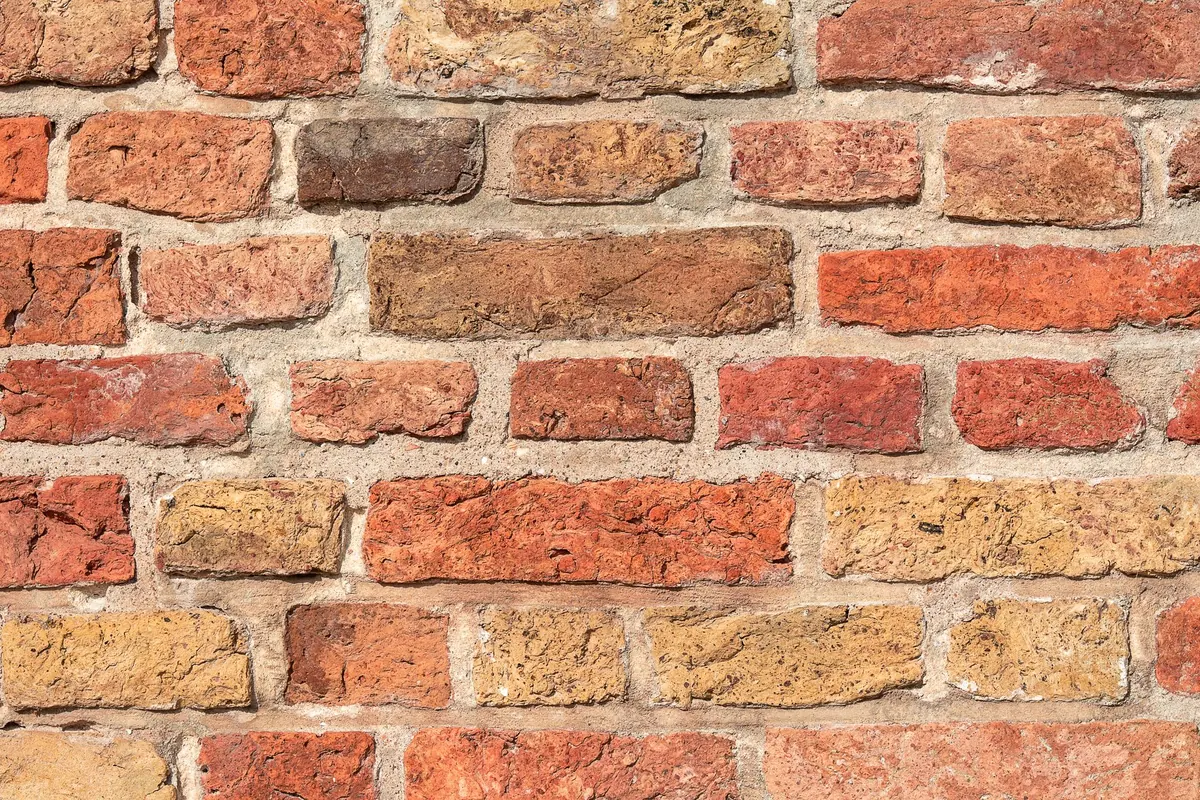
How to Repoint a Stone Wall with Lime Mortar: A Step-by-Step Guide for UK Homes
A stone wall does not stay standing because of its mortar; it stays standing because the mortar gives way first. That is the whole logic of lime. Cement joints are hard, rigid and waterproof, so when a wall moves or takes on water the stone is forced to crack instead. Lime joints are softer, slightly porous and happy to be the weakest link. Repoint with the right material and you are simply continuing a tradition that has kept British field walls, cottages and churches upright for centuries.
Here is how the job works, from raking out to curing, on both historic and modern stone walls.
Why Lime Mortar Suits Stone
Old stone walls are built to move. They settle, they lift with frost, they take driving rain on one face and dry out through the other. Lime mortar accommodates all of it: it flexes, it cracks, and it can be replaced. It also breathes, letting moisture escape through the joints rather than trapping it behind a cement skin, where it will sit until the stone itself fails.
That last point matters more than most people realise. A cement-repointed wall can look smart for five or six years and then start shedding its face. Water gets in through hairline cracks, cannot get out through the joints, and freezes. Sandstone and limestone — the two most common building stones in England — are particularly vulnerable. By contrast, a wall pointed in lime will show its first hairline cracks early and let you deal with them cheaply, before the damage reaches the stone.
There is an economic argument as well as a technical one. Lime is softer than the stone, so the joint wears first and the stone survives. Cement often costs more in the long run, because by the time it fails you are looking at replacing stones rather than mortar.
Not All Lime Is the Same
Walk into a builders' merchant and ask for "lime mortar" and you may come away with something unsuitable. There are three broad options:
- Non-hydraulic lime putty. Slaked lime matured in water and mixed with a well-graded aggregate. The softest, most breathable and most forgiving choice, and the traditional option for old solid-walled buildings. It sets by carbonation, which is slow — expect weeks rather than days.
- Natural hydraulic lime (NHL). Sold in grades such as NHL 2, 3.5 and 5. It sets partly by reaction with water, so it hardens faster and copes better with damp conditions. NHL 2 or 3.5 is usually the right grade for historic masonry.
- NHL 5 and "lime-based" bagged mixes. Tempting because they are quick, but NHL 5 is hard and fast enough to behave like a weak cement. Many bagged products sold as lime mortars contain a proportion of cement or gypsum, which defeats the whole purpose.
Match the mortar to the wall, not to the label. A soft Cotswold limestone wants a soft putty mix; a hard granite or whinstone wall in Scotland can take something a little stronger. If a wall has survived for 150 years with a particular mix, that mix is your specification.
Tools and Materials
- Lime putty or NHL, plus well-graded sharp sand — typically 1 part lime to 2.5 or 3 parts sand by volume
- Clean water for mixing and for damping down
- Mortar board or mixing tub and a low-speed paddle mixer
- Pointing trowel, small pointing iron, churn brush or stiff bristle brush
- Rake, hack knife, plugging chisel and lump hammer for removing old mortar
- Bucket and spray bottle for damping the joints
- Hessian, plastic sheeting and boards for protection and curing
- Dust mask, eye protection and gloves — lime is alkaline and will burn skin and eyes
A word on grinders: an angle grinder with a diamond blade cuts neat and fast, and it will also open the joints too wide, polish the stone faces and fill the air with silica dust. On any wall you care about, use hand tools.
The Step-by-Step Process
1. Assess the wall first
Check whether repointing is needed at all. Probe the joints with a screwdriver: if the mortar is firm a few millimetres in, it is still doing its job. Deal with the causes of water ingress first — failed gutters, raised ground levels, cracked render, blocked drip grooves — because repointing a wall that is still being soaked is wasted effort.
2. Rake out the joints
Remove the old mortar to a depth of roughly 20–25mm, or about one and a half to two times the width of the joint, whichever is less. Work in small areas, follow each joint with your chisel rather than cutting across it, and stop as soon as the back of the joint feels sound. Do not widen the joint to make pointing easier.
3. Clean and damp down
Brush out dust and loose material with a stiff brush, then damp the joints thoroughly. A dry, porous joint will suck the water out of the mortar before it can set, which leads to powdering and poor adhesion. Damp, not running wet, is what you want.
4. Mix the mortar
For a typical soft stone wall, a 1:2.5 lime-to-sand mix by volume is a reasonable starting point. Let lime and sand stand together for half an hour or so before use, and mix only what you can use in a session. Mortar that is too wet will shrink and crack; it should hold its shape on the trowel.
5. Pack it in
Push the mortar firmly into the joint in thin layers rather than one thick fill, working from the back outwards. On deep joints, build up in two or three passes, letting each one firm up before adding the next. Compact it with the pointing iron so there are no voids left behind the face.
6. Finish the joint
Match the profile of the sound joints around it. Flush or slightly recessed joints suit most rubble walls; a weathered or struck joint sheds water well on exposed elevations. Avoid ribbons of mortar smeared across the face of the stone.
7. Tool and tidy
Once the mortar has firmed up — usually a few hours, depending on the weather — go over it with a churn brush to close the surface and expose the aggregate. Smears on the stone should be brushed off, not washed off, while the mortar is still green.
8. Cure properly
This is the step most DIY jobs skip. Lime needs moisture and time. Keep the new joints damp for at least a week, ideally two, using a fine mist and hessian hung over the wall. Protect the work from direct sun, drying wind and — critically — frost, and cover it overnight. Do not paint, seal or render over new lime pointing until it has had months to carbonate properly.
Common Mistakes to Avoid
- Repointing the whole wall when only part of it needs it. Patch repairs that blend in are usually better than a full face-lift.
- Using cement, or a "lime" mix that secretly contains it. The wall will tell you within a decade.
- Raking out too deep or too wide. You are replacing a joint, not rebuilding the wall.
- Pointing in hot sun or a drying wind. The mortar skins over, shrinks and fails to bond.
- Working in freezing conditions. Below about 5°C, leave it for another week.
- Filling a deep joint in one pass. It will slump, crack and leave voids behind the face.
If the mortar is still sound and the joints are only slightly weathered, the cheapest and most conservative repair is often no repair at all.
When to Repoint — and When to Leave It Alone
Repointing is not a task you do on a schedule; it is a repair you do when the mortar has genuinely failed. Look for joints that have receded well behind the stone faces, mortar that crumbles when you scrape it, or hollow-sounding areas when tapped. Isolated patches under a leaking gutter or in a frost-prone corner can be cut out and redone on their own, without touching the rest of the elevation.
If the wall is bulging, leaning, or has lost its hearting, repointing will not save it. Those are structural problems, and they need a conservation-accredited engineer or surveyor rather than a bag of sand and a trowel.
Listed Buildings and Conservation Areas
In England, Wales and Scotland, listed building consent is normally required for any work that affects the character of a listed structure, and repointing can fall into that category. Conservation areas bring their own planning conditions. Even where consent is not needed, many local authority conservation officers will expect lime on traditional masonry and may ask for a sample panel first — a square metre of finished pointing, left for inspection before the rest of the wall is tackled.
If you are in any doubt, take photographs, describe the proposed mix and ask. A short conversation now saves a long one later.
The Bottom Line
Repointing a stone wall with lime mortar is slow, dusty, unglamorous work, and the results are almost invisible when it is done well. That is the point. A lime joint sacrifices itself so the stone can carry on, and if you rake out honestly, mix sensibly, pack properly and cure patiently, you will have added another fifty years to a wall that was already older than you.
Photo: Jan van der Wolf / Pexels