
A Beginner's Guide to Stone Masonry Tools: What You Actually Need to Start
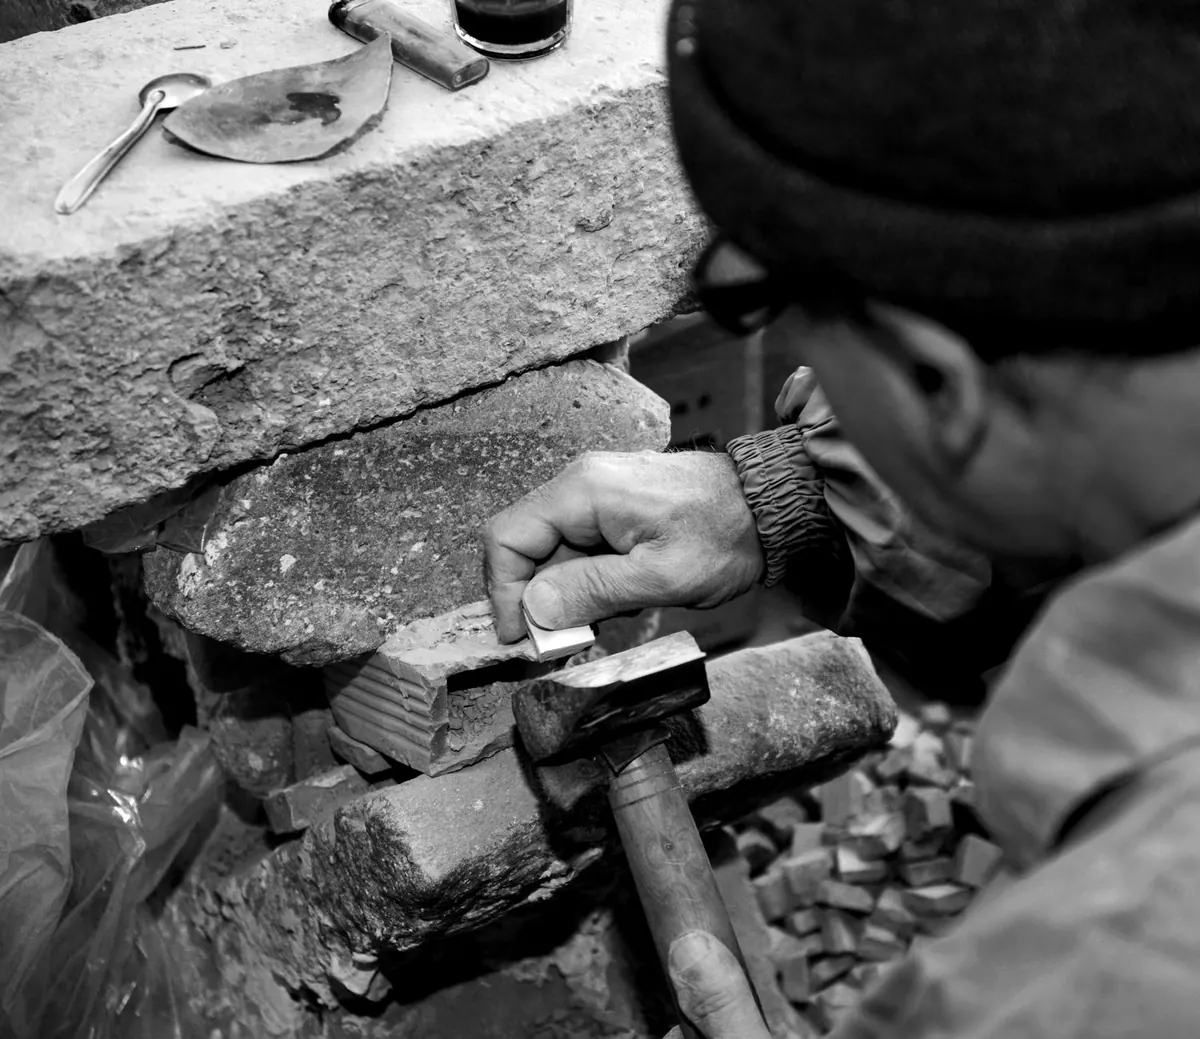
Stone masonry has a reputation for being expensive to get into. It isn't, at least not at the start. The tools that will teach you the most about how stone behaves — a lump hammer, a couple of chisels, a level and a bucket — cost less than one powered saw, and you can do a great deal of satisfying work with them. What follows is the short version: what earns its place in the bag, what can wait until you have a reason to buy it, and how to spend your first few months without wasting money.
Decide What Kind of Stone Work You Want to Do
Tools follow the job, so it helps to know roughly where you're heading. Repointing an old garden wall, laying a sandstone patio, dry stone walling and letter carving all use different kit. There's a common core — hammer, chisels, level, eye and ear protection — but a dry stone waller will never need a pointing trowel, and a carver's mallet is no use for cutting a paving slab.
If you're unsure, start with walling and simple repairs. Those jobs use the widest range of basic skills, and the tools you buy for them stay useful whatever you move on to.
The Hand Tools Worth Buying First
Buy a small, good set rather than a big, cheap one. This list covers most beginner work on limestone, sandstone and reclaimed brick:
- Lump hammer, around 1kg. The workhorse for driving chisels, bolsters and pegs. A wooden handle absorbs shock better than fibreglass and can be replaced.
- Brick bolster, roughly 100mm wide. For chopping, trimming and splitting. Pair it with the lump hammer, not a claw hammer.
- Cold chisels in two or three sizes. A 10mm and a 19mm will cover most cutting and chasing.
- Scutch hammer with spare combs. The tool that turns a rough face into something that looks deliberate.
- Pointing trowel, small and stiff. Floppy blades are frustrating in lime mortar.
- 600mm spirit level. Long enough for most work, short enough to use on a scaffold. Add a 1200mm later for walling.
- Mason's line with pins, plus a chalk line. Setting out on the ground and lining up courses both depend on these.
- Tape measure, folding rule and combination square. A folding rule is easier to use on wet stone than a tape.
- Rubber mallet for tapping stones into place, and a soft brush and bucket for cleaning up.
Chisels: buy fewer, keep them sharp
You don't need a wall of chisels. Three or four good ones, kept sharp, will out-cut a dozen blunt ones. Sharpening takes a few minutes with a diamond stone or a slow-running grinder — dip the tip in water constantly so you don't draw the temper out of the steel. A blunt chisel bruises soft stone instead of cutting it, and the bruise is impossible to sand out.
Carbide-tipped chisels hold an edge far longer on harder stone and concrete. For soft limestone or sandstone, a plain steel chisel is gentler and cuts cleanly. Store everything in a canvas roll so the edges don't knock against each other in the bag.
Safety Gear: The Non-Negotiables
Cutting, grinding and chiselling stone releases fine dust. On sandstone, limestone, granite and concrete that dust contains crystalline silica, and breathing enough of it over enough years can cause serious lung disease. You don't need to be frightened of it. You do need to control it, every time, even on a small job.
- Safety glasses or goggles that actually fit your face. Chips travel further than you expect.
- Ear defenders, especially for hammering and grinding.
- FFP3 mask or a powered respirator, used with water suppression or on-tool extraction rather than instead of it. Beards break the seal on disposable masks.
- Steel-toe boots and knee pads if you're kneeling on paving.
- Gloves for lifting stone — but take them off for grinders, saws and drills. A glove can catch and pull your hand into the tool.
Check the current HSE guidance on silica dust and read the labels on any sealers or cleaners you use. If you have an existing breathing condition, take advice from a medical professional before starting dusty work.
Measuring, Marking and Setting Out
Beginners lose far more time to bad setting out than to bad chiselling. A mark in the wrong place costs you a stone. Mark with a pencil or a chisel edge on a chalked line rather than a marker pen, which smears on damp surfaces.
Before you trust a level, test it: place it on a flat surface, note the bubble, then turn it end for end. If the bubble sits in the same place both ways, the level is true. A plumb bob and a straight edge are cheap and quietly useful. For curved or angled work, a sliding bevel will hold the angle you need far better than your eye.
Power Tools: When They Actually Earn Their Place
An angle grinder with a diamond blade will cut stone quickly, and it is also the tool most likely to injure you. Respect it: correct blade for the material, guard left on, both hands on the body, no gloves, and dust controlled with water or extraction.
Beyond that, hold off. Hire before you buy. If you have a paving job coming up, hire a stone saw for the weekend and see how much you actually use it. A drill and a mixer are more useful early on than a second grinder.
What to Buy Second-Hand and What to Buy New
Second-hand is fine for hammers, trowels, buckets, a barrow and straight edges. Check a used hammer for a cracked handle and a used trowel for a bent shank or a blade worn thin at the tip.
Buy new: chisels, scutch combs, respirator filters, safety glasses, ear defenders and diamond blades. These wear out in ways that aren't always visible, and they're the parts of your kit that protect you.
Practise First, Upgrade Later
Give yourself a few weeks with the basic kit before adding anything:
- Dress a soft stone offcut with the scutch until the face is flat and even.
- Cut a straight edge with the bolster, then check it against a square.
- Mix a small batch of mortar. On older stonework, lime mortar is usually the right choice — cement-rich mixes are harder than the stone and can trap moisture.
- Build a short practice wall, or repoint a metre of your own.
- Sharpen your chisels at the end of each session, not the start of the next one.
A beginner's kit should fit in one bag you can carry with one hand. Every tool you add later should answer a problem you've already run into, not one you've read about. The stone will teach you the rest.
Photo: Moussa Idrissi / Pexels